
Create an Origami Penguin in 6 Steps


Last Saturday I went to London to see the Tokyo Day exhibition. One of the several available attractions was origami, and considering it was one of the few things you did not need to sign up in advance for I decided to have a go at it. I must say it is quite surprising how relaxing folding pieces of papers can be.
There were several templates available, one of which was a set of instructions on how to do an origami penguin. Some of the steps are simple, and some surprisingly tricky. Apologies for the photo quality in advance – my camera broke down, and the only thing I had was my phone, and as we all know the shots from mobiles are not that great.
Before we begin you will need one thing: a square piece of thin, preferably coloured on one side, paper. If you have thicker paper it is still fine, though you might find folding slightly harder. And as for the colour, well it just give a more dramatic effect if one side is coloured.
Step 1 – The beginning
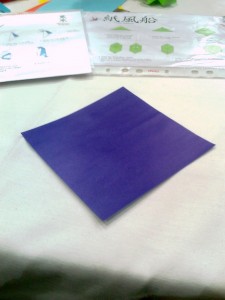
Lay the piece of paper in front of you the coloured face up and one of the corners pointing towards you.
Step 2 – Create the body
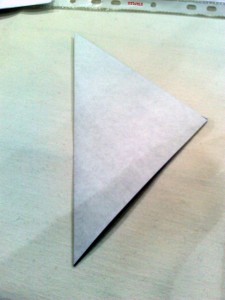
Now fold the paper in two and create a triangle. Do this by picking up the let corner and matching it up with the right corner of the initial diamond figure.
Step 3 -Add Wings
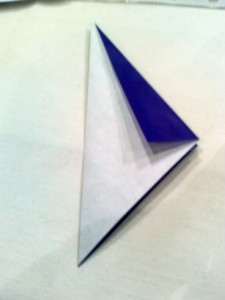
Fold the top piece slightly to create a wing. Repeat it on the other side.
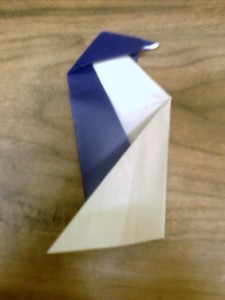
Step 4 – Create the Head
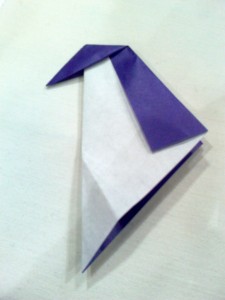
To create the head you need to turn the top corner inside out. It is a bit tricky and you need to be careful not to tear the paper.
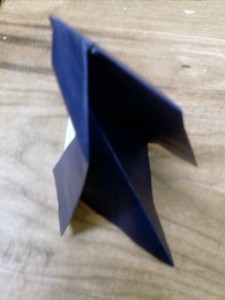
Step 5 – Add a Tail
Similarly to the head, the tail is done using an inverted fold. But rather then flipping it inside out, you make a triangle on the inside of the body. To get the right creases you might want to first create a triangle on the outside as shown below.
Once you have the right creases folding it inside should be fairly easy and from behind looks like this:
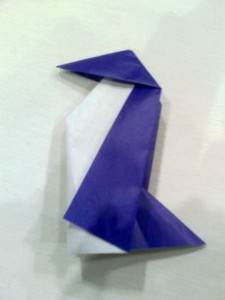
Step 6 – Finishing of With the Beak
The last detail to be added is the beak. Take the tip of the head and fold it inside, next fold it outside again about half way through. This should leave you with a finished penguin looking something like this: